Can you change your lock without changing the handle?
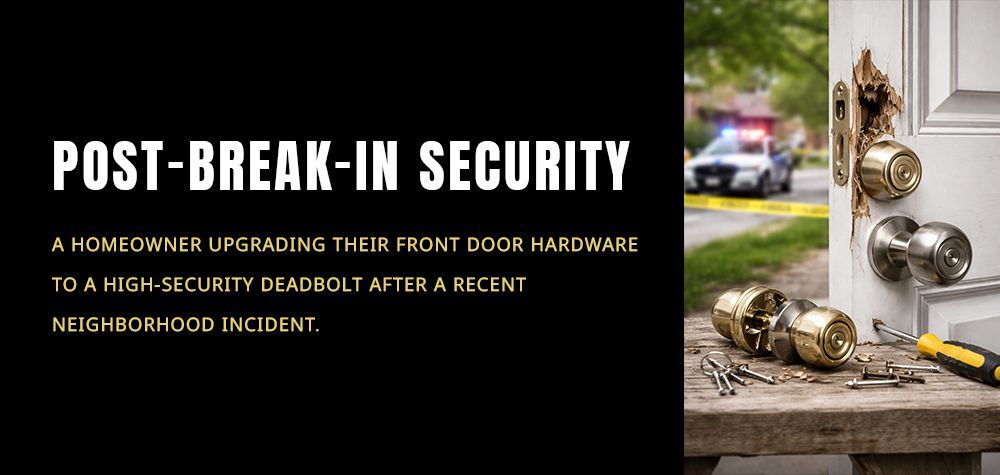
We’ve all been there—whether you're moving into a new place, dealing with a break-in scare, or simply want to upgrade your home’s security, the first thought that comes to mind is: "Should I change my lock?" But then another question quickly follows: "Do I have to change the entire handle too?"
Luckily, the answer isn’t always complicated. In fact, changing a lock without changing the handle is entirely possible—and in many cases, practical. This article is your step-by-step, no-fluff guide to understanding when and how you can do just that, what tools or help you might need, and how to ensure your home stays safe in the process.
How to test if your home locks are pick-resistant!
Why You Might Need to Change the Lock in the First Place
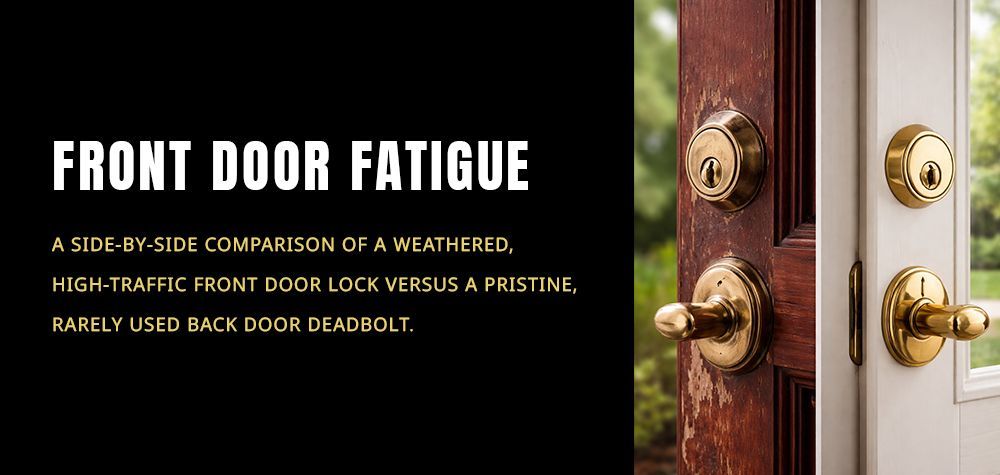
Before diving into whether the handle has to go, let’s understand why you might want to change the lock at all. Most people consider this when they’ve lost keys, are concerned about unauthorized access, have a worn-out locking mechanism, or are simply upgrading to a more secure system like a smart lock or deadbolt.
Sometimes it’s for peace of mind; sometimes, it’s to stay ahead of potential intrusions. In any case, the lock is your first line of defense—and that makes its condition a top priority.
Yes, You Can Change the Lock Without Changing the Handle
Here’s the short and sweet of it: in most standard locksets, the handle and the lock are two separate components. This means you can replace or rekey the lock cylinder—the part that actually engages and disengages the lock—while keeping the same handle in place.
For example, if your front door uses a knob or lever set with a separate deadbolt, you can often swap out the deadbolt or rekey it without touching the knob itself. Even with entry handle sets that come with a matching deadbolt, it’s still possible to only change the lock and leave the handle untouched—especially if aesthetics matter and the handle still functions well.
Understanding the Types of Locks and Handles
Not all doors are created equal, and neither are the locks and handles that go with them. If your door features a mortise lock—common in older or high-end doors—the lock and handle may be integrated into a single unit. In this case, changing one without the other could be more complicated, though not impossible with the right tools and know-how.
On the other hand, cylindrical locks, which are the most common in modern residential doors, allow easy separation between the locking mechanism and the handle. This makes them ideal for quick DIY replacements or professional rekeying jobs.
Step-by-Step: How to Change the Lock While Keeping the Handle
Identify the Problem: Do You Need Rekeying or a Full Lock Replacement?
Before you start unscrewing anything, it’s important to understand why you’re changing the lock. Is it because you lost your keys and need new ones? Or are you upgrading to a higher-security lock? If you simply want to prevent old keys from working but keep the existing lock hardware, then rekeying may be all you need. This process alters the internal pins of the lock cylinder to match a new key, and it’s usually more cost-effective than a full replacement. On the other hand, if your lock is damaged, outdated, or lacks modern security features, replacing the entire cylinder is likely the better option. Either way, there’s no need to remove or replace the door handle—good news if you like the current aesthetic or want to save time and money.
Gather Basic Tools for the Job (or Consider Hiring a Locksmith)
If you’re comfortable with a screwdriver and following instructions, this is a doable DIY project. You’ll typically need a Phillips-head screwdriver, the replacement cylinder (or rekeying kit), and a bit of patience. For those less experienced with lock mechanisms, calling a professional locksmith is a smart alternative. A locksmith can either rekey the existing lock or replace the cylinder within minutes—without compromising the handle or the door’s appearance. Either way, it’s helpful to know how the process works so you can make informed decisions.
Remove the Lock Cylinder Without Touching the Handle
Start by opening the door so you have full access to both sides of the lock. Look at the interior side (the one inside your home); you’ll find a couple of screws holding the lock mechanism in place. These screws are typically located behind the knob or plate. Carefully unscrew them, taking care not to strip the heads. Once removed, gently pull out the interior part of the lock, and then slide out the cylinder. At no point do you need to tamper with or remove the handle—it's completely independent of the lock cylinder in most modern designs. This keeps your door’s aesthetic consistent while you upgrade the inner workings.
Install the New or Rekeyed Cylinder and Test for Functionality
Whether you're installing a freshly purchased cylinder or inserting a rekeyed core, make sure it aligns correctly with the lock's internal housing. Slide it in gently and ensure it seats properly. Reinsert and tighten the mounting screws, being cautious not to overtighten, which can lead to stripped threads or warping. Once installed, test the lock several times with the new key to ensure smooth turning and proper latch engagement. The goal here is functionality without friction. If the lock sticks or feels tight, double-check the alignment before assuming it’s a defective part.
Confirm Smooth Operation While Keeping the Original Handle Intact
With the new cylinder in place and working as intended, you’ll notice one satisfying detail: your door handle looks exactly the same as it did before. The latch operates normally, the key turns easily, and there's no visual disruption to your door’s design. This approach is ideal if your handle is still in good shape or matches other hardware around the home. By isolating the lock mechanism from the handle, you’ve saved money, avoided unnecessary changes, and extended the life of your existing door hardware.
Risks Involved: When It’s Not So Simple
Compatibility Issues: Some door hardware is proprietary, meaning the lock and handle are manufactured as an integrated unit. In such cases, replacing only the lock may not be possible without affecting the handle’s functionality or appearance.
Mismatched Hardware Problems: Installing a new lock cylinder that isn’t perfectly compatible with the existing handle can cause alignment problems. This can lead to a sticky key, a loose mechanism, or a latch that doesn’t engage fully.
Increased Wear and Tear: Small misalignments or improper fits can accelerate wear on both the lock and the handle, eventually leading to mechanical failure or the need for premature replacement.
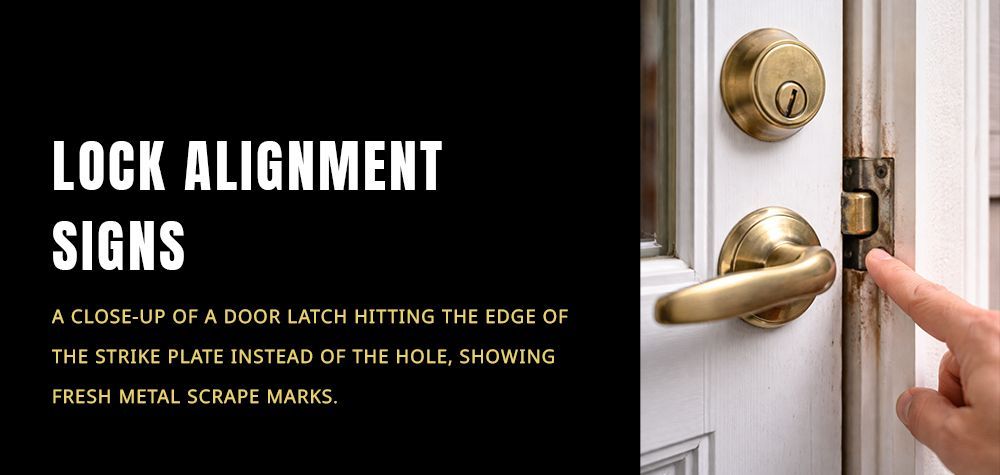
Security Concerns: If the lock isn’t installed securely, or if the strike plate doesn’t align correctly, the door could be more vulnerable to picking, bumping, or forced entry—defeating the purpose of the lock upgrade.
Aesthetic Compromise: In some cases, forcing a new lock into an old design may affect the door's appearance, leaving gaps, visible screw holes, or an awkward fit that detracts from the overall look.
When to Call in a Professional
If you’re ever unsure about the process—or your lock looks unfamiliar—don’t hesitate to consult a locksmith. A professional can rekey or replace most types of locks quickly, and ensure everything fits securely with your existing hardware. Not to mention, they’ll often spot weaknesses or misalignments you might overlook.
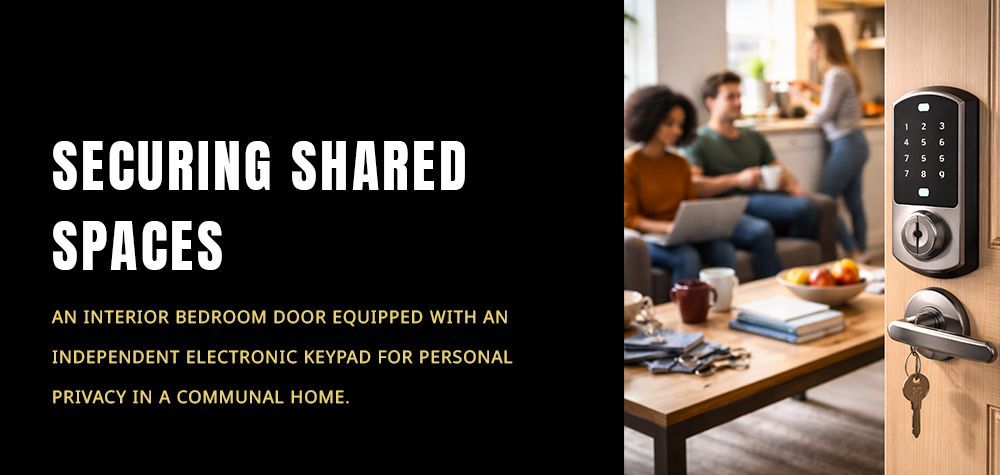
Professionals can also offer insights into upgrading to more secure lock options like anti-drill cylinders or smart locks—many of which can also be installed without touching the handle, depending on the system.
Preventive Measures to Avoid Future Lock Issues
Lubricate Regularly: Use graphite powder or silicone-based spray to keep the lock mechanism moving smoothly. Avoid using WD-40—it can attract dust and gum up the lock over time.
Clean Door Handles and Locks: Wipe down your hardware with a mild cleaner to prevent grime buildup, which can affect the lock’s performance and the handle’s finish.
Check Door Alignment: Periodically inspect the door to ensure it’s hanging correctly. A sagging or misaligned door can strain the latch and lock, leading to early wear or malfunction.
Inspect Screws and Plates: Tighten any loose screws and check the strike plate alignment to ensure your lock is engaging properly with the frame.
Invest in Modular or High-Quality Hardware: Opt for reputable brands that design locks with modular components. These systems make future upgrades or lock cylinder changes much easier—without requiring you to replace the entire handle set.
Keep Spare Keys in a Safe Place: Avoid lockouts by having duplicate keys stored securely with a trusted neighbor, family member, or in a reliable lockbox.
Schedule Routine Maintenance: If your lock is heavily used, especially in commercial or rental properties, consider having a locksmith inspect it annually.
Conclusion: Smart Choices for Simple Upgrades
To wrap it all up—yes, you absolutely can change your lock without changing the handle, and in most cases, it’s a straightforward, budget-friendly way to enhance your home’s security. The key lies in knowing what type of lock you have, understanding its relationship to the handle, and ensuring any replacements are done carefully and correctly.
Whether you're rekeying for convenience or upgrading for safety, the right lock can make all the difference—and it doesn’t have to come at the cost of replacing everything else. After all, a secure home is a smart home—and smart doesn’t have to mean complicated.
Call Us Any Time!


