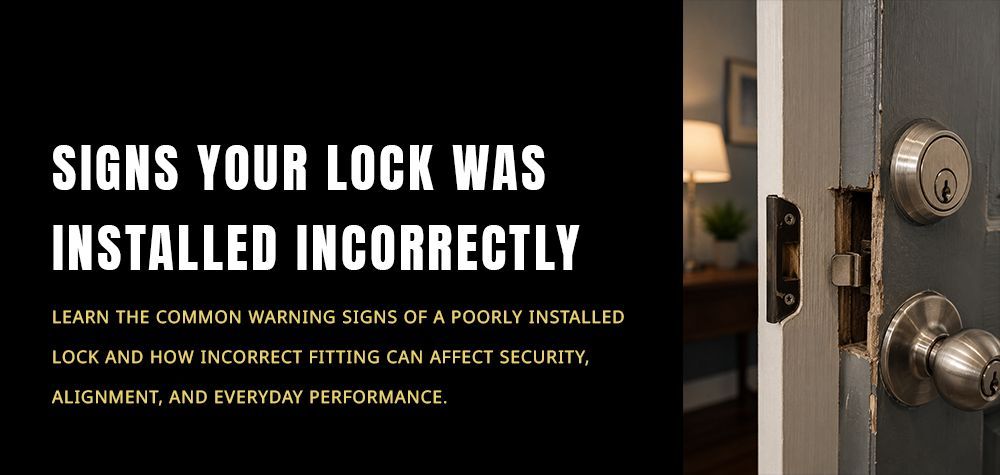
DIY to Replace a Doorknob
Replacing a doorknob is a straightforward DIY task that can instantly update the look and functionality of your doors. Whether you're dealing with a broken doorknob or simply want to upgrade to a new style, knowing how to replace a doorknob yourself can save you time and money. This guide will walk you through the process, from removing the old hardware to installing the new one, ensuring a smooth and secure fit.
Tools and Materials Needed
- Screwdriver
- New doorknob set
- Optional: Allen wrench, drill, tape measure, and lubricant
Removing the Old Doorknob
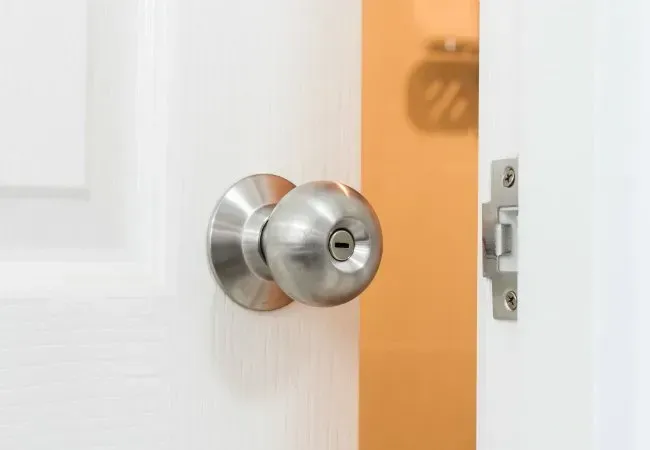
To begin, locate the screws on the interior side of the doorknob, usually found on the base plate or the knob itself. Use a screwdriver to unscrew these and carefully remove both the interior and exterior parts of the doorknob. Next, remove the latch mechanism by unscrewing the screws on the edge of the door and pulling the latch assembly out. If the strike plate on the door frame is being replaced, unscrew and remove it as well. Once all components are removed, you are ready to install the new doorknob.
Read more about How to Pick a Lock with a Bobby Pin!
Preparing for the New Doorknob -
Before installing the new doorknob, ensure that the latch mechanism aligns with the door’s edge hole and that the knob fits into the preexisting holes. Clean any debris or old paint from the holes to ensure a smooth fit. If the new doorknob set includes a template or instructions, compare the measurements with your door to ensure compatibility. Make any necessary adjustments to the door or frame, such as enlarging the hole or chiseling the edge for the latch plate. Gather all the components of the new doorknob set and have them ready for installation.
Installing the New Doorknob
Insert the latch mechanism into the edge hole of the door and secure it with screws. Align the exterior knob with the spindle and push it through the hole in the latch. Attach the interior knob by aligning it with the spindle and pressing it into place. Secure the interior and exterior knobs by tightening the screws on the interior side. Check that the knobs turn smoothly and the latch engages properly. Adjust the alignment if necessary to ensure the door latches securely and operates smoothly.
Testing and Adjustments
Close the door and test the new doorknob by turning it to ensure it engages the latch correctly. Open and close the door several times to confirm smooth operation. If the latch doesn't align with the strike plate, adjust the plate by loosening its screws and repositioning it. Tighten all screws securely once proper alignment is achieved.
Troubleshooting Common Issues
If the doorknob feels loose, tighten the mounting screws on both sides of the door. If the latch doesn't retract when turning the knob, check for alignment issues and adjust the latch mechanism or strike plate as needed. For a sticking or stiff doorknob, apply a small amount of lubricant to the latch and moving parts. If the key doesn't turn smoothly, ensure the key and lock mechanism are clean and free of debris.
Conclusion:
Replacing a doorknob is a straightforward DIY task that can enhance the security and aesthetics of your home. With the right tools and a clear step-by-step process, you can efficiently remove the old doorknob, prepare the door, install the new hardware, and ensure everything functions correctly. Taking the time to troubleshoot and make necessary adjustments guarantees a smooth operation and a properly fitted doorknob. Whether you're updating for style or necessity, this guide helps you achieve a professional result with ease.
Call a professional from Brother's Locksmith and let them handle the door knop replacement!
Call Us Any Time!