Guide to Lock Installation
Securing your home or business begins with a reliable lock installation. Whether you're upgrading security or replacing an old lock, knowing how to install a lock properly is essential for peace of mind. A well-installed lock not only enhances security but also ensures smooth functionality and durability over time. In this guide, we'll walk you through the step-by-step process of installing various types of locks, from deadbolts to smart locks. By following these instructions, you'll not only safeguard your property but also gain the confidence to handle lock installations with ease.
Read more about Changing Combination Locks!
Types of Locks
Before beginning any lock installation, it's crucial to understand the types of locks available. Different types include deadbolts, knob locks, lever handle locks, and smart locks. Each type offers unique features and levels of security, catering to various needs and preferences.
Tools and Materials Needed
Gathering the right tools and materials is essential for a successful lock installation. You'll typically need:
- Drill with various drill bits
- Screwdrivers (flathead and Phillips)
- Tape measure
- Pencil or marker
- Door lockset kit (includes lock and hardware)
- Chisel and hammer (for wood doors)
- Level
- Safety goggles and gloves
Preparing for Installation
Before starting the installation process, take time to prepare the door and surrounding area. Ensure the door is clean and free from any existing hardware. Measure and mark the appropriate height and placement for the new lock according to manufacturer instructions. Clear the work area of any obstacles and ensure proper lighting for visibility during installation.

Removing the Old Lock
To safely remove the existing lock, follow these steps:
- Step 1: Unscrew and remove the screws from the interior side of the door using a screwdriver.
- Step 2: Disconnect any wires or components attached to electronic or smart locks.
- Step 3: Use a screwdriver to remove the screws from the exterior side of the door.
- Step 4: Carefully pull the old lock mechanism out from both sides of the door.
Installing the New Lock
Follow these step-by-step instructions to install the new lock:
- Step 1: Insert the new lock mechanism into the prepared hole on the interior side of the door.
- Step 2: Secure the lock with screws provided, ensuring it sits flush against the door.
- Step 3: Attach any wires or components for electronic or smart locks as per manufacturer instructions.
- Step 4: Place the exterior side of the lock into position, aligning it with the interior mechanism.
- Step 5: Secure the exterior side with screws and tighten them evenly to prevent misalignment.
Testing the Lock
After installation, test the lock to ensure proper functionality:
Once installed, test the lock by operating it with the key or keypad, ensuring smooth locking and unlocking. Check for any resistance or misalignment that may affect performance. Additionally, test any electronic or smart features to ensure they operate correctly. Adjust the installation if necessary to optimize functionality and security.
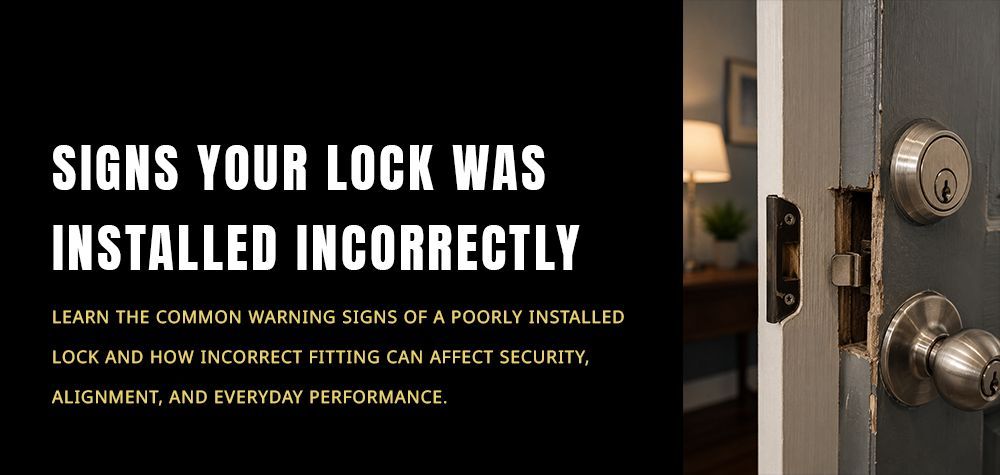
Common Installation Issues
- Misalignment of lock components
- Difficulty in fitting the lock into the door cutout
- Loose screws affecting stability
- Electrical wiring not properly connected (for electronic locks)
- Key or keypad operation issues
Conclusion
Ensuring your lock installation is done correctly is essential for both security and functionality. By following these steps and being aware of common issues, you can confidently install a new lock or replace an old one. Remember, if you encounter any difficulties beyond your expertise, seeking professional assistance ensures your home or property remains secure. With proper installation, your new lock will provide peace of mind and reliable security for years to come.
Read more about Antique lock repair guide!
Call Us Any Time!