Common Lock Problems and Lock Fixes
Locks serve as the guardians of security, providing protection and peace of mind in our homes, businesses, and vehicles. However, like any mechanical device, locks are susceptible to wear, tear, and malfunctions over time. Understanding common lock problems is crucial for maintaining the integrity of your security system and addressing issues promptly.
From keys getting stuck in the lock to doors not latching properly, common lock problems can vary in severity and complexity. In this comprehensive guide, we'll explore the most prevalent issues that plague locks, delve into their underlying causes, and provide practical solutions for resolving them. By gaining insight into common lock problems and their fixes, you'll be better equipped to safeguard your property and ensure the smooth operation of your locking mechanisms.
Key Stuck in the Lock: Causes and Solutions
Discovering a key stuck in the lock can be a frustrating and inconvenient situation, potentially leaving you locked out of your home, office, or vehicle. In this section, we'll explore the common causes behind keys getting stuck in locks and provide practical solutions for resolving this issue promptly and effectively.
Causes of a Key Stuck in the Lock:
- Key Misalignment: Misalignment of the key with the lock pins or tumblers can prevent smooth insertion or removal of the key.
- Worn or Damaged Key: Over time, keys can become worn or damaged, leading to difficulty in turning or extracting the key from the lock.
- Foreign Objects: Foreign objects such as dirt, debris, or small fragments of a broken key can obstruct the keyway, preventing the key from operating smoothly.
- Internal Mechanism Issues: Internal issues within the lock mechanism, such as broken springs or damaged components, can hinder the movement of the key.
Solutions for Resolving a Key Stuck in the Lock:
- Gentle Jiggling: Attempt gently jiggling the key while applying slight pressure to see if it dislodges any obstructions and allows the key to turn or be removed.
- Lubrication: Apply a lubricant specifically designed for locks, such as graphite powder or silicone spray, to the key and insert it into the lock. The lubricant can help loosen any debris and improve the key's movement.
- Key Extraction Tools: Use key extraction tools, such as tweezers or needle-nose pliers, to carefully grasp and remove any foreign objects or broken key fragments from the lock.
- Professional Assistance: If DIY methods prove unsuccessful or if there are underlying issues with the lock mechanism, seek the assistance of a professional locksmith. A locksmith can diagnose the problem accurately and provide expert solutions to resolve the issue without causing further damage to the lock.
Difficulty Turning the Key
Experiencing difficulty when turning the key in a lock can be frustrating and inconvenient, potentially leaving you locked out of your home, office, or vehicle. In this section, we'll delve into the common causes behind this issue and provide practical solutions for diagnosing and resolving it effectively.
- Misaligned Lock Components: Misalignment of internal lock components, such as pins or tumblers, can impede the smooth operation of the lock mechanism. We'll explore how to identify signs of misalignment and techniques for realigning the components to restore proper functionality.
- Key Wear or Damage: Over time, keys can become worn down or damaged, making it difficult to engage with the lock's internal mechanism. We'll discuss methods for assessing the condition of your key and options for repair or replacement to ensure a proper fit and smooth operation.
- Foreign Object Obstruction: Foreign objects, such as dirt, debris, or even small fragments of a broken key, can obstruct the keyway and prevent the key from turning smoothly. We'll provide guidance on safely removing obstructions and cleaning the keyway to restore unrestricted movement.
- Lock Lubrication Issues: Lack of proper lubrication can cause friction and resistance within the lock mechanism, making it difficult to turn the key. We'll discuss the importance of regular lock maintenance and lubrication and recommend suitable lubricants for optimal performance.
- Lock Cylinder Damage: Damage to the lock cylinder, such as corrosion, rust, or internal wear, can hinder the key's ability to engage with the mechanism properly. We'll explore methods for inspecting the lock cylinder for damage and options for repair or replacement to address the issue
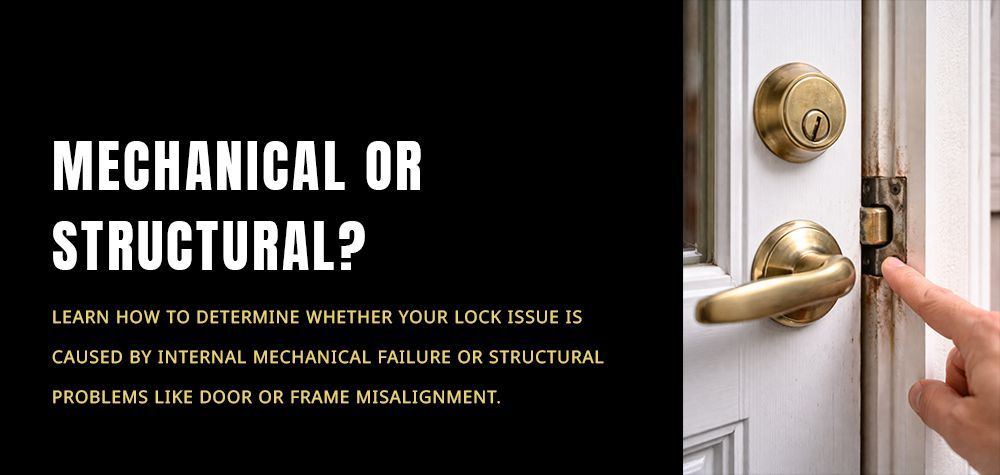
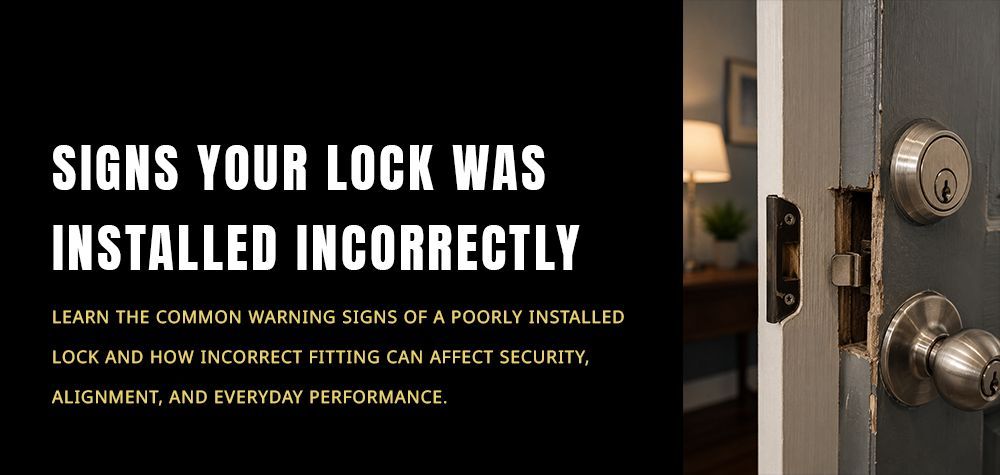
Door Not Latching Properly
A door that fails to latch properly can compromise both security and convenience, leaving your property vulnerable and disrupting daily routines. In this section, we'll explore the potential causes behind this issue and provide practical solutions for diagnosing and resolving it effectively.
- Misaligned Strike Plate: A misaligned strike plate can prevent the latch bolt from properly engaging with the strike plate, resulting in a door that fails to latch. We'll discuss how to identify misalignment issues and techniques for adjusting or replacing the strike plate to ensure proper alignment and secure latching.
- Worn or Damaged Latch Mechanism: Over time, the latch mechanism can become worn down or damaged, leading to ineffective latching. We'll explore methods for inspecting the latch mechanism for signs of wear or damage and options for repair or replacement to restore proper functionality.
- Debris Buildup in Latch Mechanism: Dirt, dust, or debris accumulation within the latch mechanism can obstruct the smooth operation of the latch bolt, preventing it from fully extending into the strike plate. We'll provide guidance on safely cleaning the latch mechanism to remove obstructions and restore smooth operation.
- Door Frame Warping or Shifting: Changes in temperature or humidity levels can cause the door frame to warp or shift, affecting the alignment of the door and hindering proper latching. We'll discuss methods for assessing door frame integrity and techniques for correcting minor warping or shifting issues.
- Loose or Worn Hinges: Loose or worn hinges can cause the door to sag or become misaligned, resulting in poor latching. We'll explore how to inspect hinges for signs of wear or looseness and steps for tightening or replacing hinges to ensure proper door alignment and latching.
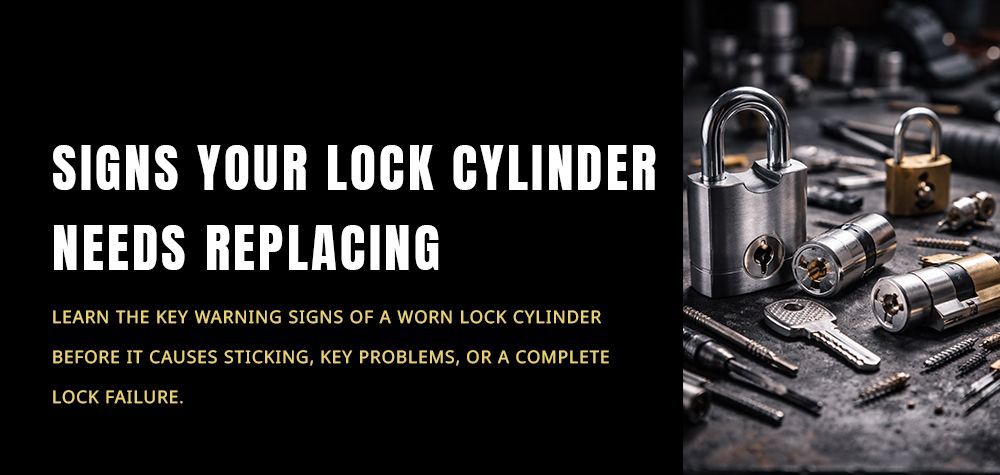
Lock Cylinder Jamming
Encountering a jammed lock cylinder can be a frustrating experience, hindering access to your property and compromising security. In this section, we'll delve into the potential causes behind lock cylinder jamming and provide practical solutions for diagnosing and resolving this issue effectively.
- Foreign Object Obstruction: Foreign objects, such as dirt, debris, or even fragments of a broken key, can become lodged inside the lock cylinder, causing it to jam. We'll discuss methods for safely removing obstructions and cleaning the cylinder to restore smooth operation.
- Key Wear or Damage: Worn or damaged keys can exacerbate the risk of lock cylinder jamming, as they may no longer engage properly with the cylinder's internal mechanisms. We'll explore techniques for assessing key condition and options for repair or replacement to ensure a proper fit and smooth operation.
- Lack of Lubrication: Insufficient lubrication within the lock cylinder can lead to friction and resistance, resulting in jamming. We'll discuss the importance of regular lock maintenance and lubrication and recommend suitable lubricants for optimal performance.
- Misalignment or Warping: Misalignment or warping of the lock cylinder or surrounding components can impede the smooth operation of the cylinder, leading to jamming. We'll provide guidance on identifying signs of misalignment or warping and techniques for realigning or correcting the affected components.
- Internal Mechanism Failure: Internal mechanical issues, such as broken springs or pins, can cause the lock cylinder to malfunction and jam. We'll explore methods for diagnosing internal mechanism failure and options for repair or replacement to restore proper functionality.
Deadbolt Not Extending or Retracting
Encountering a deadbolt that fails to extend or retract properly can compromise the security and functionality of your door. In this section, we'll explore the potential causes behind this issue and provide practical solutions for diagnosing and resolving it effectively.
- Misaligned Deadbolt: A misaligned deadbolt can prevent it from properly engaging with the strike plate, resulting in difficulty extending or retracting. We'll discuss how to identify misalignment issues and techniques for adjusting or realigning the deadbolt to ensure smooth operation.
- Lack of Lubrication: Insufficient lubrication within the deadbolt mechanism can lead to friction and resistance, hindering proper extension or retraction. We'll explore the importance of regular maintenance and lubrication and recommend suitable lubricants for optimal performance.
- Worn or Damaged Deadbolt Components: Over time, the deadbolt components can become worn down or damaged, affecting their ability to extend or retract smoothly. We'll discuss methods for inspecting the deadbolt components for signs of wear or damage and options for repair or replacement to restore functionality.
- Obstruction in the Door Frame: An obstruction in the door frame, such as debris or a misaligned strike plate, can interfere with the deadbolt's operation. We'll provide guidance on identifying and removing obstructions to ensure unimpeded movement of the deadbolt.
- Internal Mechanism Failure: Internal mechanical issues, such as broken springs or pins, can cause the deadbolt to malfunction. We'll explore methods for diagnosing internal mechanism failure and options for repair or replacement to restore proper functionality.
Loose or Wobbly Door Handles
A wobbly door handle can be more than just a nuisance; it can also compromise the security and functionality of your door. In this section, we'll delve into the causes of loose or wobbly door handles and provide practical solutions to tighten them up and restore stability.
- Identifying the Issue: The first step in addressing a wobbly door handle is to determine the root cause. Loose screws, worn-out components, or improper installation are common culprits contributing to handle instability.
- Tightening Screws: In many cases, loose door handles can be fixed by simply tightening the screws that hold them in place. Using a screwdriver, carefully tighten the screws on both sides of the door handle to secure it to the door.
- Replacing Worn Components: If tightening the screws doesn't solve the problem, worn-out or damaged components may need to be replaced. Inspect the handle, latch mechanism, and any connecting hardware for signs of wear or damage, and replace any faulty parts as needed.
- Adjusting the Spindle: Sometimes, a misaligned spindle can cause a door handle to wobble. To correct this issue, remove the handle from the spindle, realign it properly, and reattach it securely.
- Professional Assistance: If you're unable to diagnose or fix the problem on your own, consider seeking assistance from a professional locksmith or door hardware specialist. They can assess the situation, identify any underlying issues, and provide expert solutions to restore stability to your door handles.
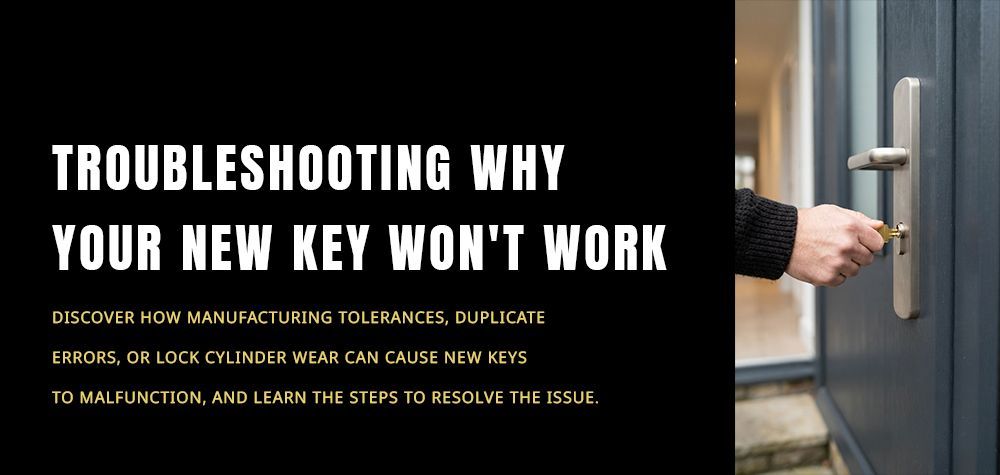
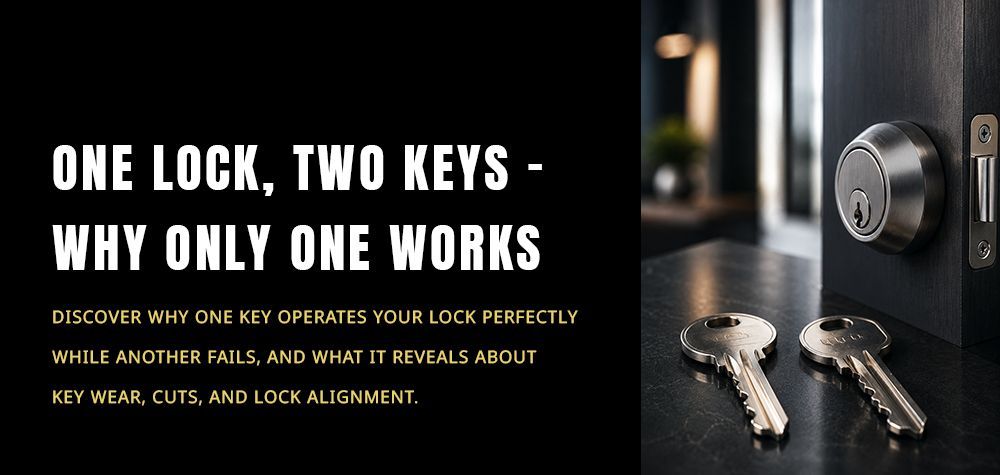
Broken or Bent Key
Discovering a broken or bent key can be a frustrating experience, but with the right approach, you can quickly resolve the issue and regain access to your property. In this section, we'll explore effective methods for extracting broken or bent keys from locks and provide guidance on obtaining replacement keys to ensure continued security and functionality.
- Extracting the Key: When faced with a broken or bent key lodged inside a lock, it's essential to proceed with caution to avoid causing further damage. Using needle-nose pliers, tweezers, or a key extraction tool, carefully grasp the protruding end of the key and gently pull it out of the lock. Be sure to apply steady pressure and avoid excessive force to prevent the key from breaking further or causing damage to the lock mechanism.
- Replacing the Key: Once the broken or bent key has been successfully extracted, it's time to obtain a replacement key to restore functionality to the lock. Depending on the extent of damage to the original key, you may be able to have a duplicate key made by a locksmith or hardware store. Alternatively, if the key is too damaged to be duplicated, you may need to contact the manufacturer or a locksmith to create a new key from scratch.
Frozen Locks
During cold weather conditions, frozen locks can pose a significant inconvenience, preventing you from accessing your property and compromising security. In this section, we'll discuss practical methods for thawing frozen locks and offer preventive measures to avoid future occurrences.
- Thawing the Lock: If you discover that your lock is frozen, there are several methods you can use to thaw it safely and effectively. One common approach is to heat the key with a lighter or match and then insert it into the lock to transfer the heat and melt the ice. Alternatively, you can use a hairdryer or heat gun to apply warm air directly to the lock mechanism. Be sure to exercise caution and avoid using excessive heat, as this can damage the lock or surrounding surfaces.
- Preventive Measures: To minimize the risk of frozen locks in the future, consider implementing preventive measures such as lubricating the lock mechanism with a graphite or silicone-based lubricant. These lubricants can help reduce friction and prevent moisture from accumulating inside the lock, reducing the likelihood of freezing during cold weather. Additionally, consider installing a lock cover or shield to protect the lock from direct exposure to precipitation and extreme temperatures.
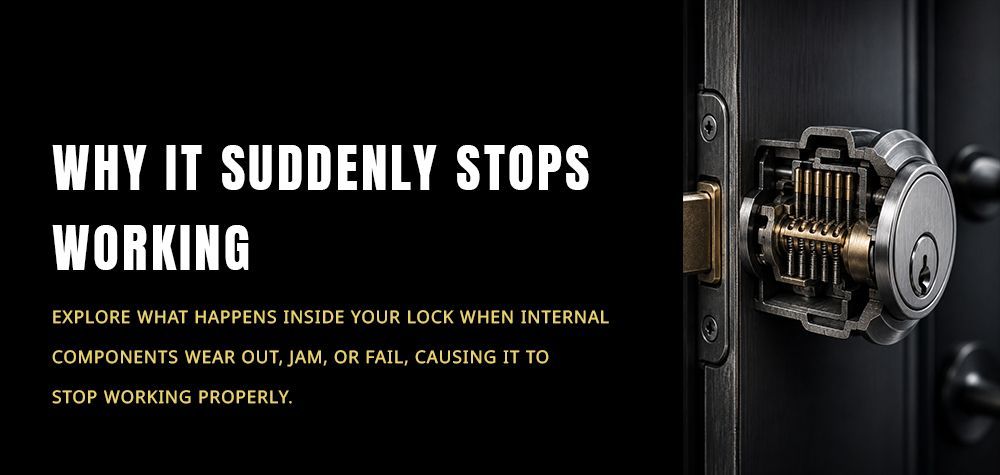
Lock Mechanism Failure
When a lock mechanism fails, it can compromise the security and functionality of your lock. In this section, we'll explore the common causes of lock mechanism failure and discuss the options for repair or replacement. From worn-out components to internal damage, we'll help you diagnose the issue and determine the best course of action to restore your lock to proper working order.
- Assess the Issue: Determine the specific nature of the lock mechanism failure. Is it due to worn-out components, internal damage, or other factors?
- Inspect Internal Components: Take apart the lock to inspect the internal components. Look for signs of wear, breakage, or misalignment that may be causing the failure.
- Repair Option: If the issue is minor and components can be salvaged, consider repairing the lock mechanism. This may involve replacing individual parts or reassembling the lock with proper alignment.
- Replacement Option: If the lock mechanism is extensively damaged or beyond repair, opt for replacement. Choose a new lock mechanism that meets your security needs and fits the existing door hardware.
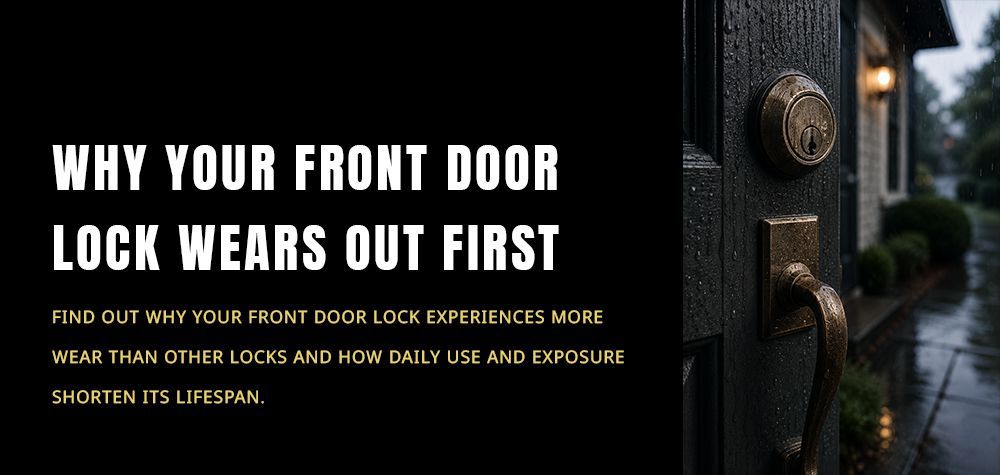
Rust or Corrosion
Rust and corrosion can wreak havoc on your locks, causing stiffness, jamming, and even complete lock failure. In this section, we'll delve into the causes of rust and corrosion in locks and provide step-by-step instructions for cleaning and lubricating affected components. With the right tools and techniques, you can remove rust, prevent further corrosion, and ensure smooth operation of your locks for years to come.
- Assess Rust Severity: Determine the extent of rust or corrosion on the lock components. Surface rust may be addressed differently than deep-seated corrosion.
- Clean the Lock: Use a rust remover or vinegar solution to dissolve surface rust. Scrub the affected areas with a wire brush or abrasive pad to remove stubborn rust deposits.
- Apply Lubricant: After cleaning, apply a lubricant such as graphite or silicone spray to prevent future rust formation and ensure smooth lock operation.
- Regular Maintenance: Implement a regular maintenance schedule to inspect and clean your locks. Wipe down the exterior surfaces and apply lubricant as needed to prevent rust buildup.
Electronic Lock Malfunctions
Electronic locks offer convenience and advanced security features, but they're not immune to malfunctions. In this section, we'll discuss common electronic lock issues such as keypad problems, battery failures, and connectivity issues. We'll provide troubleshooting tips and maintenance guidelines to help you address these issues and keep your electronic locks operating smoothly. Whether you're dealing with a keypad that's not responding or a lock that's not syncing with your smartphone, we'll help you troubleshoot the problem and restore functionality to your electronic locks.
- Check Power Source: Ensure that the electronic lock has a reliable power source, such as batteries or a wired connection. Replace batteries if necessary and verify that electrical connections are secure.
- Reset the Lock: Perform a reset of the electronic lock by following manufacturer instructions. This can often resolve minor glitches or software issues.
- Clear Obstructions: Check for any obstructions in the lock's keypad or sensor area. Clean away dirt, debris, or moisture that may be interfering with proper operation.
- Update Firmware or Software: If applicable, check for firmware or software updates for the electronic lock. Updating to the latest version can address known bugs and improve performance.
Conclusion
In the realm of lock problems and solutions, one name stands out as a beacon of reliability and expertise: Brothers Locksmith. With a dedication to quality service and customer satisfaction, Brothers Locksmith is your trusted partner in safeguarding your property and addressing lock-related issues.
From repairing lock mechanisms to tackling rust and corrosion, and troubleshooting electronic lock malfunctions, Brothers Locksmith has the knowledge, skills, and experience to handle it all. Their team of trained professionals is committed to delivering prompt, efficient, and effective solutions to ensure your locks are operating at peak performance.
Call Us Any Time!